Showing posts with label canning. Show all posts

Thursday, August 25, 2011

Garlic Jelly


Typically most people tend to think of jelly as the fruity, sticky, sweet variety. Obviously this is not a jelly that you would throw down on a PB and J. It is, however, great with cream cheese on crackers. Or as a marinade, especially on roast chicken.
 
 
1/4 cup garlic cloves, peeled
2 cups distilled white vinegar
4 cups white sugar
3 ounces liquid pectin   
1 to 2 drops food coloring (optional, obviously!)
 
In a food processor or blender, blend the garlic and 1/2 cup of vinegar until smooth. In a large saucepan, combine the garlic mixture, remaining 1 1/2 cups vinegar and sugar. Over high heat bring the mixture to a boil, stirring constantly. Quickly add the pectin. Return the mixture to a boil and boil hard for 1 minute, stirring constantly. If desired, add food coloring. Remove from the heat.
 
Immediately fill five sterilized jelly jars, leaving 1/4-inch head space. Wipe the jar tops and threads clean. Place hot sealing lids on the jars and apply the screw on rings loosely. Process in boiling water in a deep canning pot for 5 minutes. Remove the jars and let sit undisturbed for 24 to 36 hours. 
 

Thursday, August 18, 2011

Canned Lemon Curd

This post can also be found on another site I blog on: www.imnaturallysimple.com. Go check it out!
 
I have been getting ahead of myself these days with dreaming of Fall days. I long for the cool, crisp mornings, pulling out the sweaters, the smell of burning leaves, caramel apples, pumpkins…the list goes on and on. Living in the Midwest though, Fall can only be followed by one thing…winter. Cold, bitter, harsh, snow filled, icy winter. During this I time I will be longing for the warm, sunshiny days of summer, so I should be taking advantage of it now!


One way I can bring a little bit of summer into the bleak winter is by opening up a jar of something I have canned during the bountiful summer months. There is something about opening a jar of tomatoes grown from your very hand, or a crisp pickle that can bring some semblance of summer time to even the most dreary winter day. The epitome of summer for me is bright, fresh lemon taste. This lemon curd recipe will wipe away even the most serious Winter Blues!


Canned Lemon Curd
  • 2 cups sugar
  • 1/2 cup finely grated lemon peel
  • 1 cup bottled lemon juice
  • 3/4 cup chilled butter, cut into one-inch pieces
  • 7 egg yolks
  • 4 whole eggs
Preparation

Wash and sterilize half-pint jars, lids and rings. Fill water bath canner with enough water to cover filled jars by two inches and start heating water.*

Combine sugar and lemon peel; set aside. 

Whisk together the egg yolks and whole eggs. Slowly whisk in the sugar and zest, blending until smooth. Add lemon juice and then the butter pieces to the mixture.

Cook, stirring gently, until the mixture reaches a temperature of 170 degrees.

Remove from heat and place on a protected surface, such as a towel or wooden board.

Continue to stir gently until curd thickens, about five minutes. Strain curd through a mesh strainer, discard collected zest.

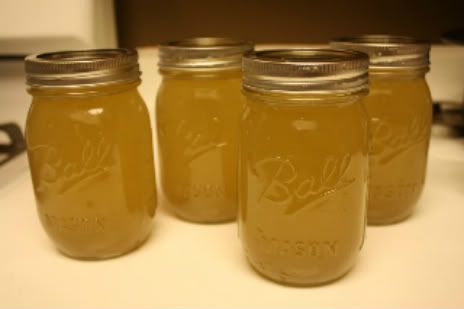
Pour hot curd into hot half-pint jars, leaving 1/2-inch headspace. Wipe rims of jars with a damp paper towel and fasten lids and rings. Place jars in a 180-degree water bath (see note below) and increase heat. When water boils over tops of jars, process for 15 minutes. Let cool, undisturbed, for 12 to 24 hours, then check seals. Makes 3 to 4 half-pint jars.

* Use a thermometer to monitor water temperature: the water should be 180 degrees when you add the filled jars, so it will take about 25 to 30 minutes to reach boiling after you add the jars. (This extra heating time is necessary for safely processing this particular recipe.) Begin processing time when the water comes to a full boil over the tops of the jars.

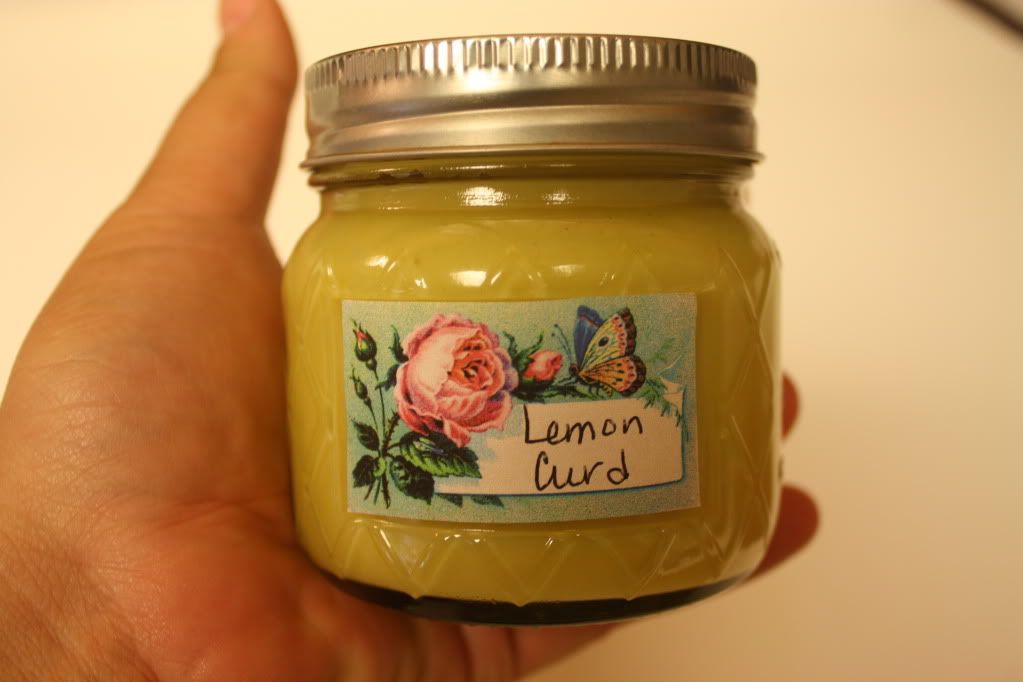
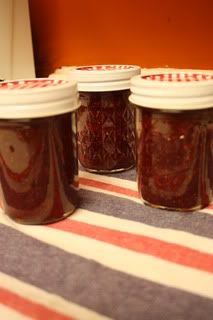
Make sure to add a pretty label. After all, you just did all that work, you will want to show it off, and I think food is so pretty, don't you?


I get mine from the Graphics Fairy blog. You can check it out here.
There is some controversy to canning this recipe. If you are concerned about canning due to the eggs and butter, this can always be refrigerated or frozen. The lemon juice should be bottled, due to the specifications of acidity in store bought lemon juice as opposed to freshly squeezed lemon (though, I will admit, I have used half bottled/ half fresh with no problems. Not recommending, just commenting here!) 

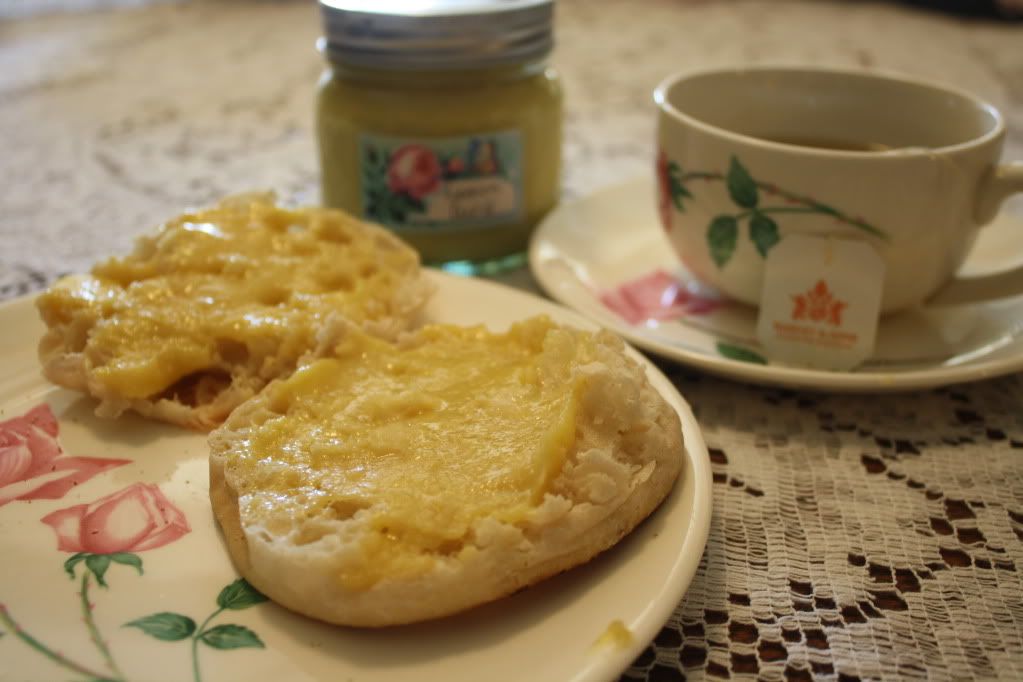
This recipe is delicious on a slice of fresh baked bread, scones, English muffins, or made into a cobbler. I hope you it enjoy it as much as our family does!

Friday, August 5, 2011

Canning Chicken and Broth

 I am really lucky in this economy with food prices as to be able to buy meat on base at the Commissary. There is a huge debate amongst the military community on whether or not it is cheaper to buy on base or not, and I will tell you, for meat it wins, hands down. I can usually buy whole chickens for anywhere from 59 to 69 cents a pound, so a chicken that feeds my little family is about 3 to 4 dollars.


That's not too shabby, but what I can do with the leftovers is even more amazing!

Canned chicken. Yup, canned chicken. This falls into the category for some people of "Why, why, why would you do that? Why not just freeze it?" I will tell you why: canned chicken is the ULTIMATE convenience food. All you have to do is pull the jar our of your pantry and you have cooked, shredded chicken to use in casseroles, soups, tacos, sandwiches....the list is pretty endless.

Canning chicken is relatively simple, provided you have the right equipment and a little time. You need to have a pressure canner to do meats. Non-negotiable. I have the Presto 23 quart. It was the only thing I wanted for my birthday this year. My momma is so good to me!

After you have your lovely, delicious roast chicken for dinner (Which is the one of the best smells, your house will smell heavenly) you can get the chicken ready. I like to do this in the crockpot since it can sit and cook down all night. Throw your chicken carcass in, cover with water, I like to add some more onion, carrot, and chicken bouillon, and let 'er cook down. In the morning you will have a crockpot full of chicken that falls right off the bone and a ton of broth. How easy was that?

At this point you technically could freeze your broth and chicken. Canning for me is the way to go through. I don't have a lot of freezer storage space. In the event of an electrical outage, which for some reason happens on base with regular frequency, I don't have to worry about it going bad. I can pull it off my shelf and use it without having to defrost. Do I have you convinced yet?

Make sure you really do a good job of sterilizing your jars before filling. This is always important, but for some reason with meat I find it EXTRA important to make sure everything is nice and clean and sterile. Fill your warm, sterilized jars with the chicken, then fill with broth, leaving 1 to 1 1/4 inch headspace. You will have broth leftover to just do jars of broth too. I do pints. The stock needs to be processed at 11 pounds of pressure  for 20 minutes, the shredded meat at 11 pounds pressure for 90 minutes. It is a long time, better safe than sorry though. Really watch the pressure gauge.


Out of my $3.03 chicken I got:

Dinner
Lunch the next day
3 pints shredded chicken
6 pints of chicken broth

Not too shabby!

And the chicken doesn't taste like the store kind which smells of a cross between tuna and dog food.

p.s...Giant Granny blanket is coming along quie nicely. Pics to come soon.


Sunday, July 10, 2011

Super Simple Summer Salsa

Try saying that three times fast!

Farmer's market season is upon us lovies! Now is the perfect time if you haven't to try your hand at canning some of the goodness of the season, Look at this beeeeeeautiful corn salsa, you know you want some, don't deny it your love...


Corn Salsa

4 ears fresh corn, cut from the cob. If you can't find fresh you can use canned or frozen, I guess
1 big ol' red onion, chopped
1 bell pepper, chopped
2 tomatoes, seeded and diced
1 jalapeno, seeded and finely diced
2 cloves garlic, minced
cilantro (optional, I love it though, so it goes in pretty much everything I make)
1/2 cup lime juice
1 tsp salt
1/2 tsp cumin (if you can find the roasted kind it is worth the extra few cents, trust me)
1/2 tsp black pepper

Before you start chopping all your stuff up, start to sterilize your jars and metal screw rings. It is easy, you put them in a big pot of hot water taht covers the jars until they are all steamy. I like to do the lids in a small sauce pan of hot water, that way they stay warm until I am ready to put them on. Now your jars are ready to go!

Throw all your ingredients in a big honkin' bowl. Now is the hard part: not eating it all before you actually get a chance to can it! Put it in the hot jars. Before you put the lids on wipe the tops of the jars with a damp rag, that way no nasty mean bacteria can grow there and ruin your happy corn salsa. Put the lids on, then screw the metal rings. You don't have to go all crazy here and be all He-Man like, so don't overdo how tight you screw the rings on. Now put your jars into the big pot of water again and put the lid on the pot. When the water starts to boil cook for 15 more minutes. After they boil take them out of the water. That's it! You will want to see if they seal, this can take 10 minutes or 10 hours. If they do seal you will hear a little suck and pop noise (technical canning term....when you hear it you will know though, and then when you can in the future you will be giddy with delight when you hear it. My husband thinks I am a nerd when I get excited about it).

This makes about 3 to 4 pint size jars of salsa, depeding on how much you eat before you actually can it. It is great just with chips, or try it on chicken or corn. In the middle of winter it is amazing to open up a jar of this summer-in-a-jar goodness, especially here in the Midwest when the snow and cold starts sucking the very life out of your soul.

Happy canning!

Sunday, June 26, 2011

Strawberry Day

It was such a gorgeous day I decided to take Rosemary to Thompson Strawberry Farm in Kenosha, Wisconsin. She had such fun and was a pro at finding the best berries!


When we got home we made a small batch of jam just to get started. Here is the recipe we used:

4 cups crushed berries
2 cups sugar
2 tablespoons lemon juice
1 teeny tiny pat of butter (cuts down on the foam when the berries are boiling...great tip!)
1 packet of MaryJanes Chillover powder (if you don't know what this is, you really should!)

Heat the berries, sugar, lemon juice to boiling. Cook and mash and cook and mash some more, until it is all cooked and mashed to your liking. This is a very technical recipe, you see.


When it's starts to get foamy like crazy add the butter, then you won't have to skim it off. How awesome is that?! Add the Chillover powder and boil for 3 minutes. Can in sterile jars. I used half pints and water bathed for 5 minutes. Isn't it beeeeeautiful?


I can't wait to have us some strawberry jam on scones for breakfast! We only picked one basket, so I think we just may have to go back! 

Sunday, June 19, 2011

Canning Like Crazy!

I go through phases where I think I need to can everything in sight. This weekend was strawberries, lemon curd, and some carrots. THe lemon curd turned out to be the most delicious thing to ever makes its way into my stomach. I will attempt to take pictures and directions with my next batch, for now you will just have to trust that is is a combination of sunshine and happiness in a jar!


My mom found me this picture...I think it suits me perfectly, don't you?