Thursday, August 25, 2011

Garlic Jelly


Typically most people tend to think of jelly as the fruity, sticky, sweet variety. Obviously this is not a jelly that you would throw down on a PB and J. It is, however, great with cream cheese on crackers. Or as a marinade, especially on roast chicken.
 
 
1/4 cup garlic cloves, peeled
2 cups distilled white vinegar
4 cups white sugar
3 ounces liquid pectin   
1 to 2 drops food coloring (optional, obviously!)
 
In a food processor or blender, blend the garlic and 1/2 cup of vinegar until smooth. In a large saucepan, combine the garlic mixture, remaining 1 1/2 cups vinegar and sugar. Over high heat bring the mixture to a boil, stirring constantly. Quickly add the pectin. Return the mixture to a boil and boil hard for 1 minute, stirring constantly. If desired, add food coloring. Remove from the heat.
 
Immediately fill five sterilized jelly jars, leaving 1/4-inch head space. Wipe the jar tops and threads clean. Place hot sealing lids on the jars and apply the screw on rings loosely. Process in boiling water in a deep canning pot for 5 minutes. Remove the jars and let sit undisturbed for 24 to 36 hours. 
 

Monday, August 22, 2011

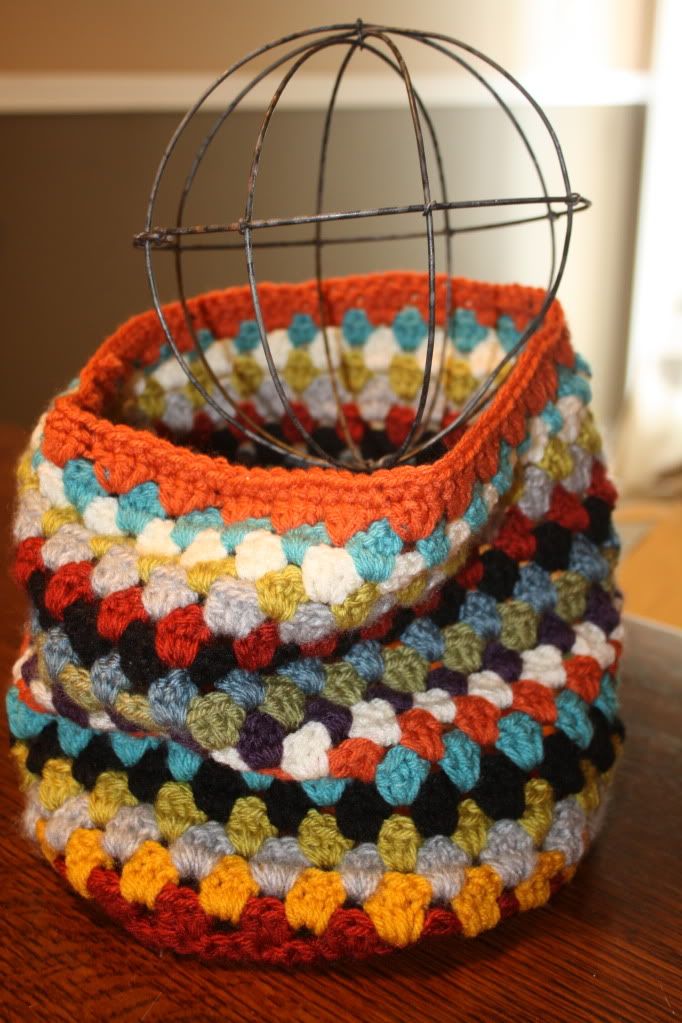
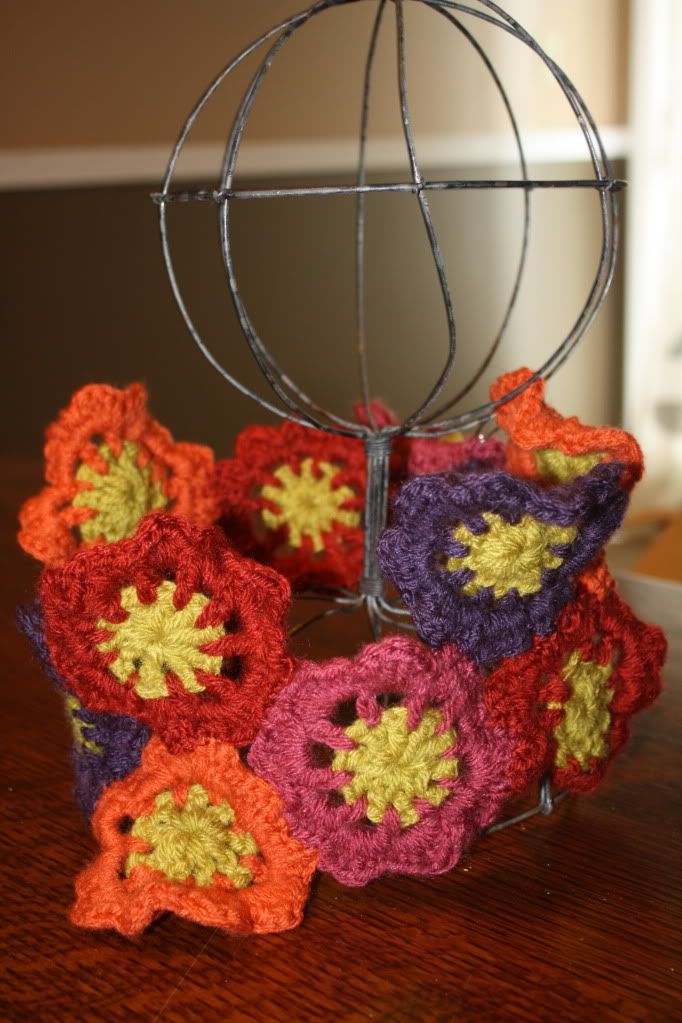
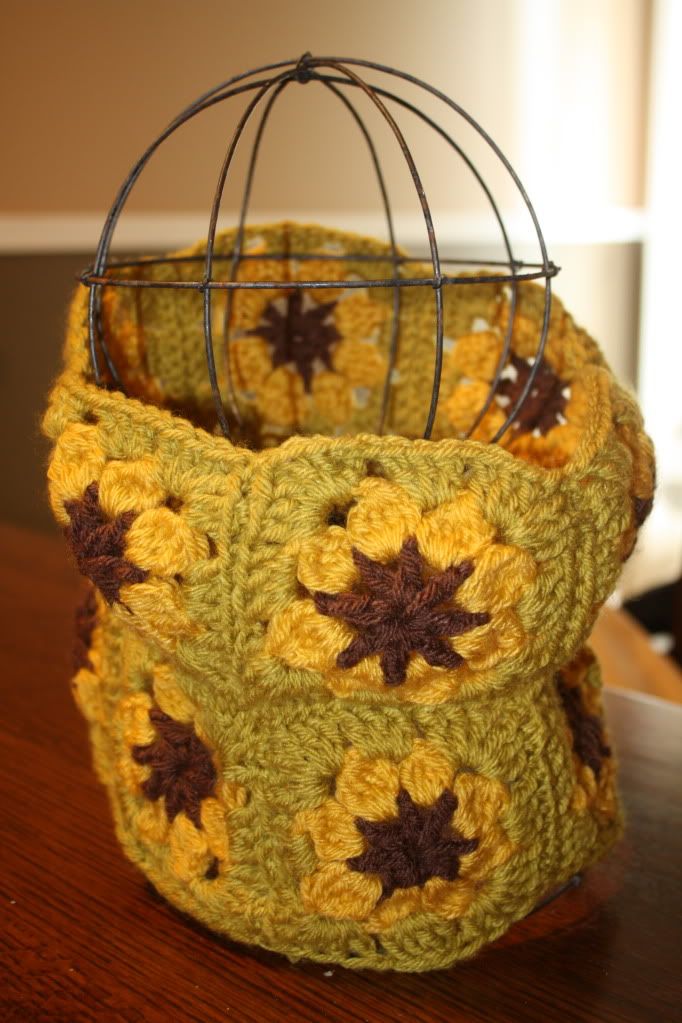
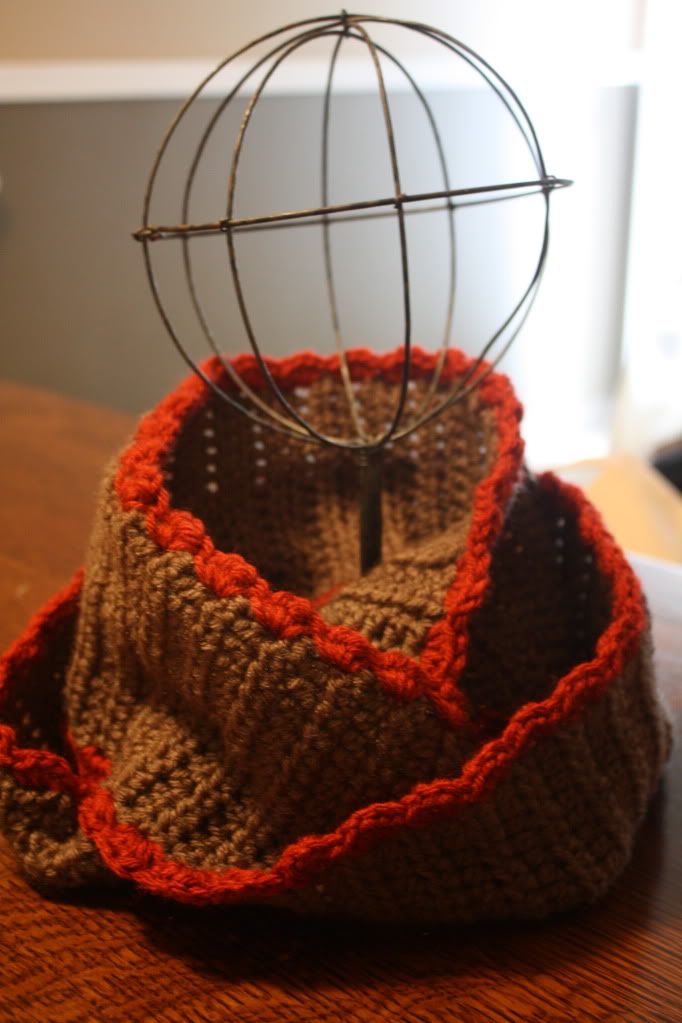
Don't Have a Cowl, Man!

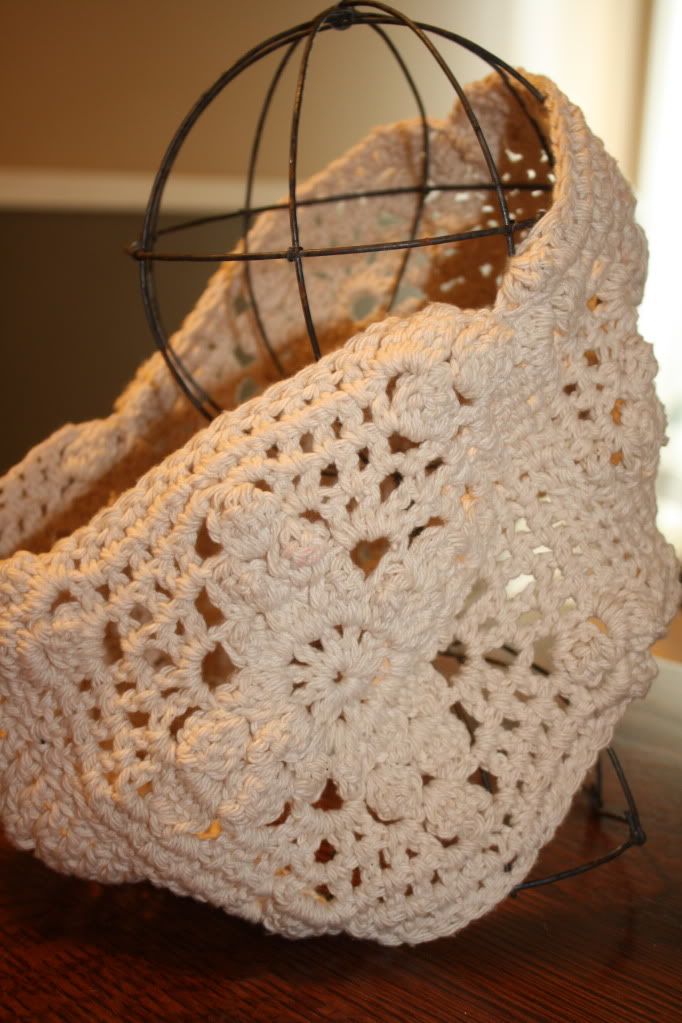
Ok, well maybe the title should be to "Have a Cowl" because I have been crocheting cowls obsessed this weekend. Seriously...someone stop me.

The following have been done since Friday:


I would say it is intervention time, yes? On the bright side, These work up really quick, and none of them required that I buy any yarn (which says something about my stash). I can't decide what my favorite is. What do you think?

Saturday, August 20, 2011

Drum Roll Please...

And the winner of the caramel apple giveaway is....

Patty Byrd!  Hooray! Patty, email me you address and I will get it out for you in the next few days!

Thank you all for participating! This was fun for me and I hope to do it again soon!

Thursday, August 18, 2011

Canned Lemon Curd

This post can also be found on another site I blog on: www.imnaturallysimple.com. Go check it out!
 
I have been getting ahead of myself these days with dreaming of Fall days. I long for the cool, crisp mornings, pulling out the sweaters, the smell of burning leaves, caramel apples, pumpkins…the list goes on and on. Living in the Midwest though, Fall can only be followed by one thing…winter. Cold, bitter, harsh, snow filled, icy winter. During this I time I will be longing for the warm, sunshiny days of summer, so I should be taking advantage of it now!


One way I can bring a little bit of summer into the bleak winter is by opening up a jar of something I have canned during the bountiful summer months. There is something about opening a jar of tomatoes grown from your very hand, or a crisp pickle that can bring some semblance of summer time to even the most dreary winter day. The epitome of summer for me is bright, fresh lemon taste. This lemon curd recipe will wipe away even the most serious Winter Blues!


Canned Lemon Curd
  • 2 cups sugar
  • 1/2 cup finely grated lemon peel
  • 1 cup bottled lemon juice
  • 3/4 cup chilled butter, cut into one-inch pieces
  • 7 egg yolks
  • 4 whole eggs
Preparation

Wash and sterilize half-pint jars, lids and rings. Fill water bath canner with enough water to cover filled jars by two inches and start heating water.*

Combine sugar and lemon peel; set aside. 

Whisk together the egg yolks and whole eggs. Slowly whisk in the sugar and zest, blending until smooth. Add lemon juice and then the butter pieces to the mixture.

Cook, stirring gently, until the mixture reaches a temperature of 170 degrees.

Remove from heat and place on a protected surface, such as a towel or wooden board.

Continue to stir gently until curd thickens, about five minutes. Strain curd through a mesh strainer, discard collected zest.

Pour hot curd into hot half-pint jars, leaving 1/2-inch headspace. Wipe rims of jars with a damp paper towel and fasten lids and rings. Place jars in a 180-degree water bath (see note below) and increase heat. When water boils over tops of jars, process for 15 minutes. Let cool, undisturbed, for 12 to 24 hours, then check seals. Makes 3 to 4 half-pint jars.

* Use a thermometer to monitor water temperature: the water should be 180 degrees when you add the filled jars, so it will take about 25 to 30 minutes to reach boiling after you add the jars. (This extra heating time is necessary for safely processing this particular recipe.) Begin processing time when the water comes to a full boil over the tops of the jars.

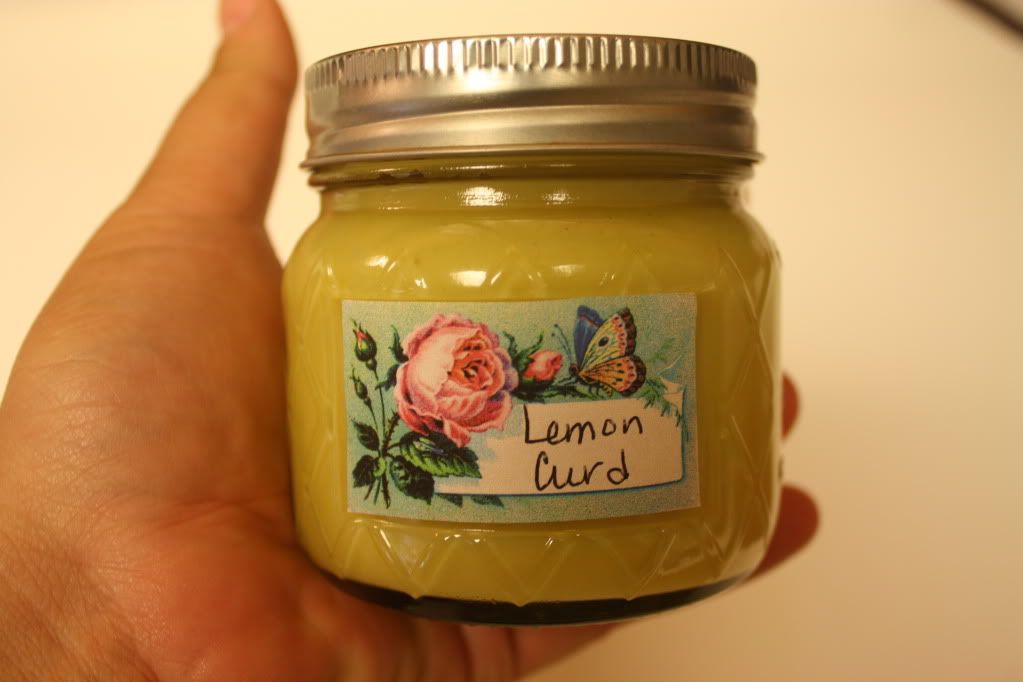
Make sure to add a pretty label. After all, you just did all that work, you will want to show it off, and I think food is so pretty, don't you?


I get mine from the Graphics Fairy blog. You can check it out here.
There is some controversy to canning this recipe. If you are concerned about canning due to the eggs and butter, this can always be refrigerated or frozen. The lemon juice should be bottled, due to the specifications of acidity in store bought lemon juice as opposed to freshly squeezed lemon (though, I will admit, I have used half bottled/ half fresh with no problems. Not recommending, just commenting here!) 

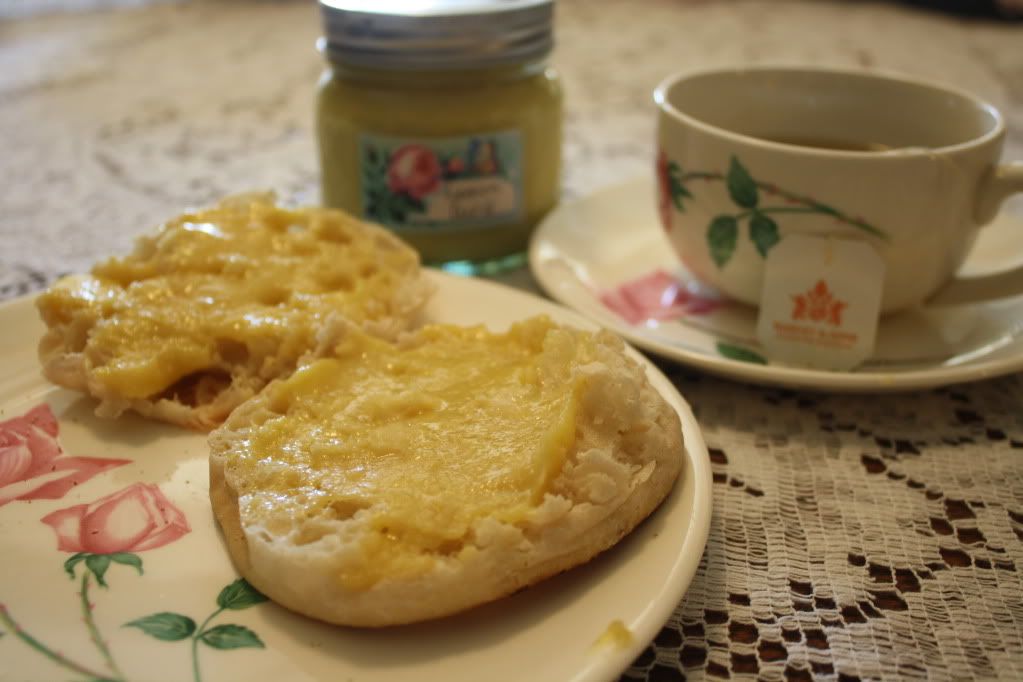
This recipe is delicious on a slice of fresh baked bread, scones, English muffins, or made into a cobbler. I hope you it enjoy it as much as our family does!

Saturday, August 13, 2011

Giveaway!

The first giveaway on my blog!

Up for grabs are 3 of the faux caramel apples I showed how to make in my previous post.


To enter:

Become a follower of my blog
Leave a comment on what you are most looking forward to with fall-time approaching.

I will draw a name next Saturday morning, so enter by Friday, August 19th at midnight to enter.

I look forward to hearing what YOU are looking forward to!

Thursday, August 11, 2011

Calorie Free Candy Apples

Got your attention, didn't I!

Well, the reason they are calorie free is they are fakes. They will look real though, so it's still fun!

I love fall time. The colors, the crisp air, pumpkins, apple butter...bring it all on! I start thinking about it in July, and in August start trying to sneak  some decoration into the house without being ostentatious. These caramel apples may to the trick for now!

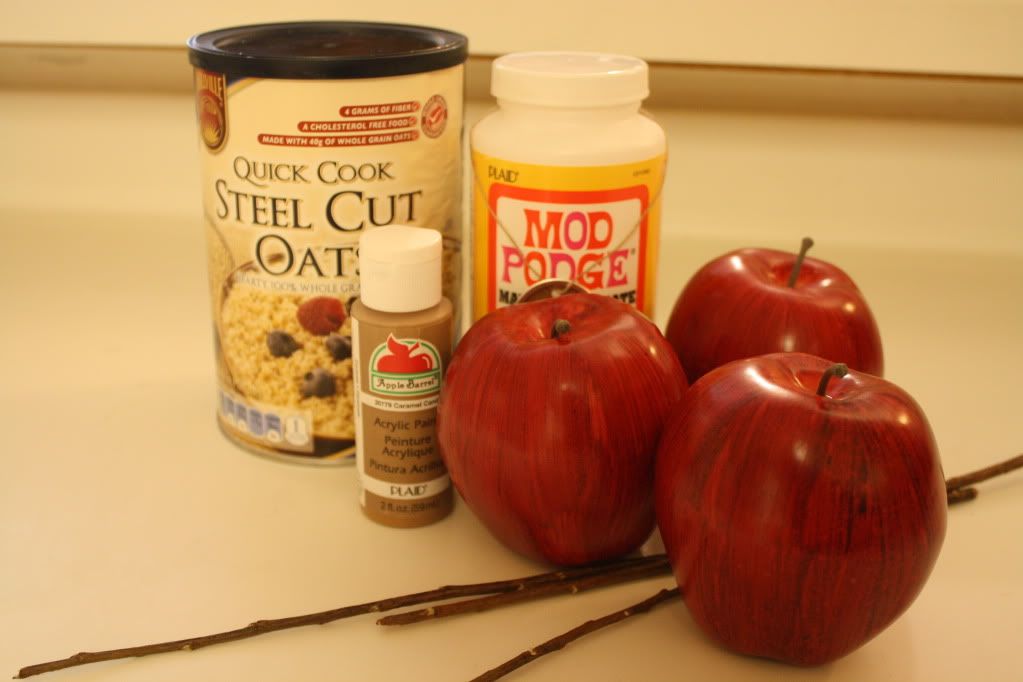
Here are your supplies:


Fake apples. You can find these for cheapest at either Walmart or the Dollar Tree
Mod Podge. I love this stuff. THe glossy is nice for this project, but I had matte on hand.
Acrylic paint. Can you believe there is even a color called caramel? Perfect.
Sticks of some sort. I like the rustic look, but popsicle sticks are cute too.
Hot glue
Something to replicate fake topping. Coarse sawdust works, so does the natural kitty litter. I used steel cut oats for these because, well, I had them and I am on a budget.
Ribbon or any other fun fancies you would like to use.

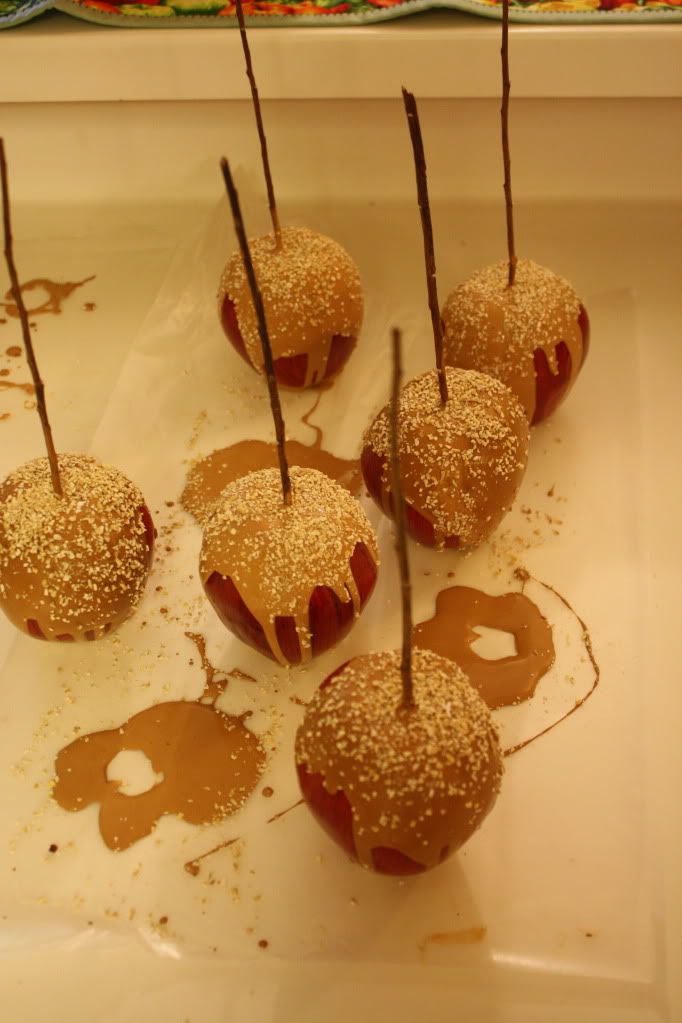
The apples will have a little plastic stem that pops right off and when you take it off there will be a small hole there. Take a screwdriver or an awl and make the hole a little bigger. Pour some hot glue down there and then put the stick in. Let it dry for a little bit. While it's drying. mix the Mod Podge and glue. There is no exact ratio here, about half to half I guess. Pour over the apples, just like the real thing! Let this dry for a few minutes, otherwise when you put your "topping" on it will all slide down the sides and end up at the bottom. Not pretty. Don't ask how I know this happens.


Do this part on wax paper. You should move them every half hour or so until they get pretty dry. See how the paint pools around the bottom. If you don't move them it will be hard to take them off the waxed paper. Don't ask how I know this either. Now all they have to do is dry!

Now you could add ribbon, or use something like puffy paint to to create those super duper caramel apples that have chocolate and the such.  Like this kind:


I however, in both my decorating and food tastes like things simple, so these will be mine:


I might have made a few of these, and there maaaaaaay be a giveaway to come....I'm just sayin'.....